
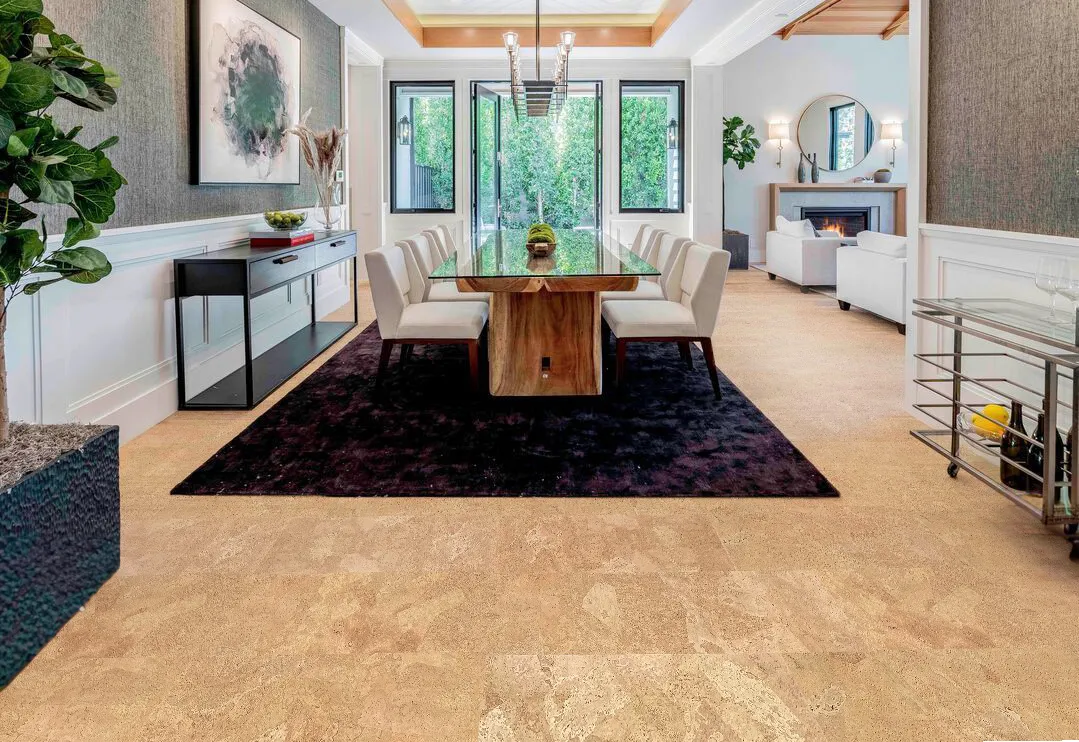
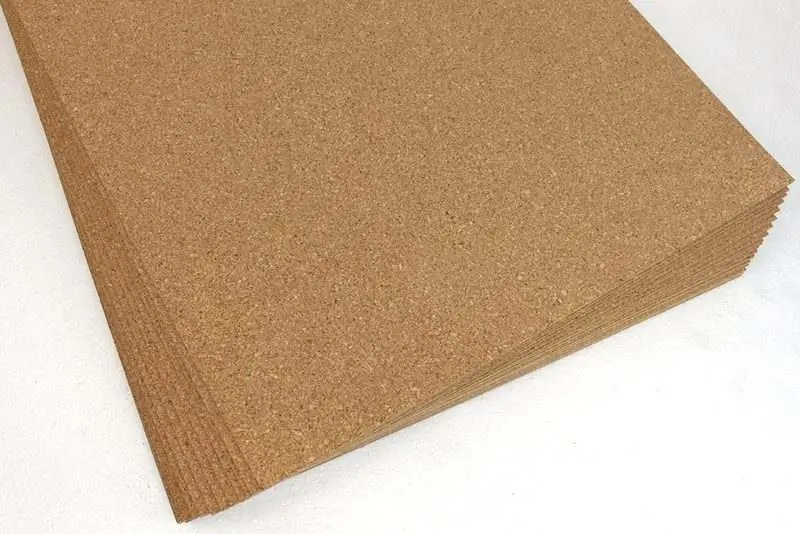
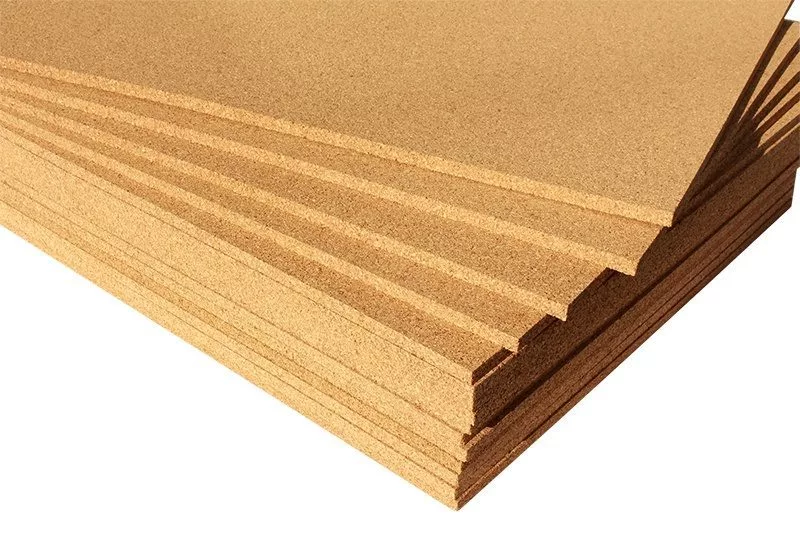
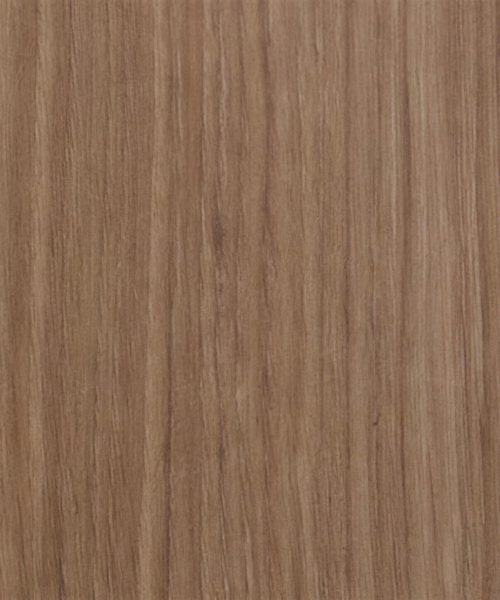
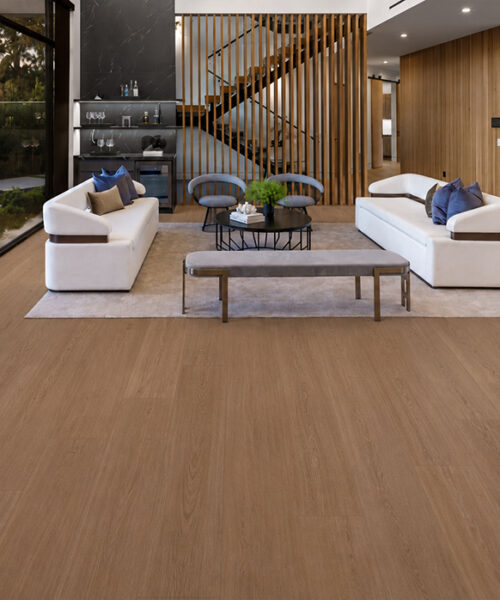
Cork Floating Planks
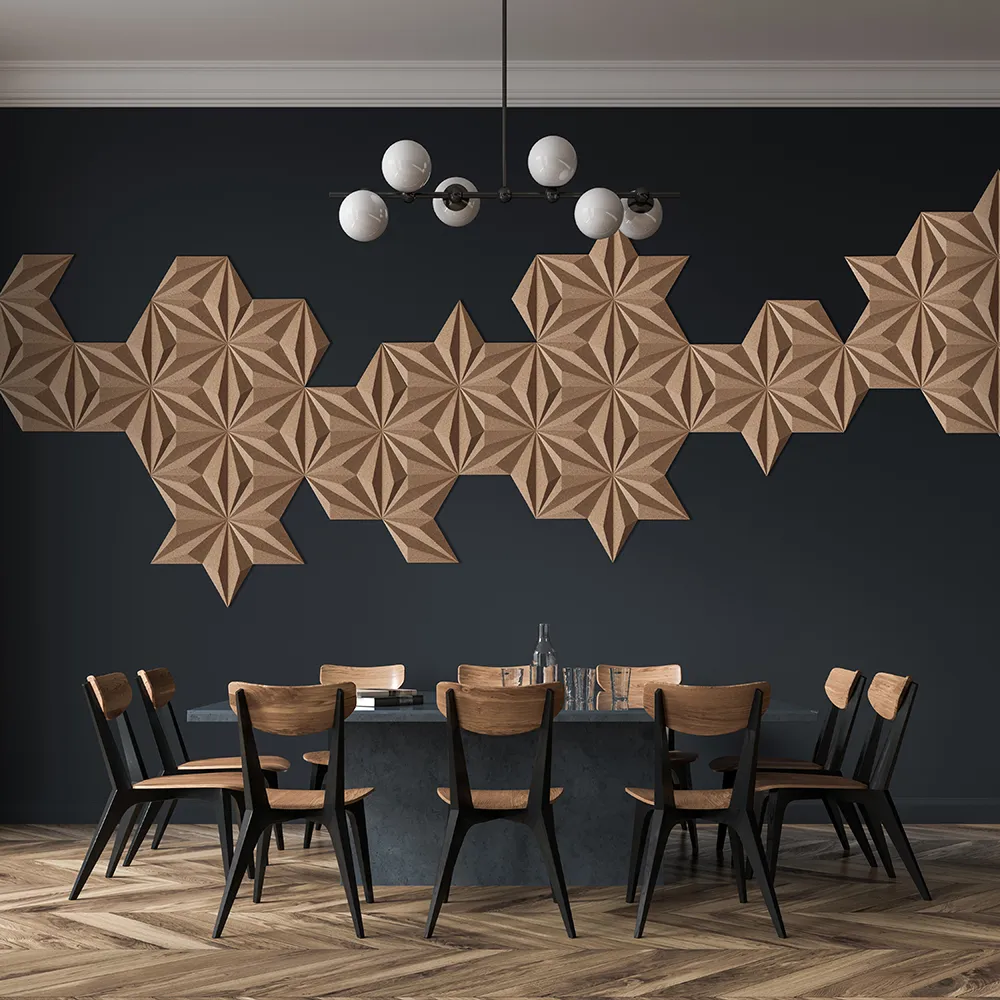
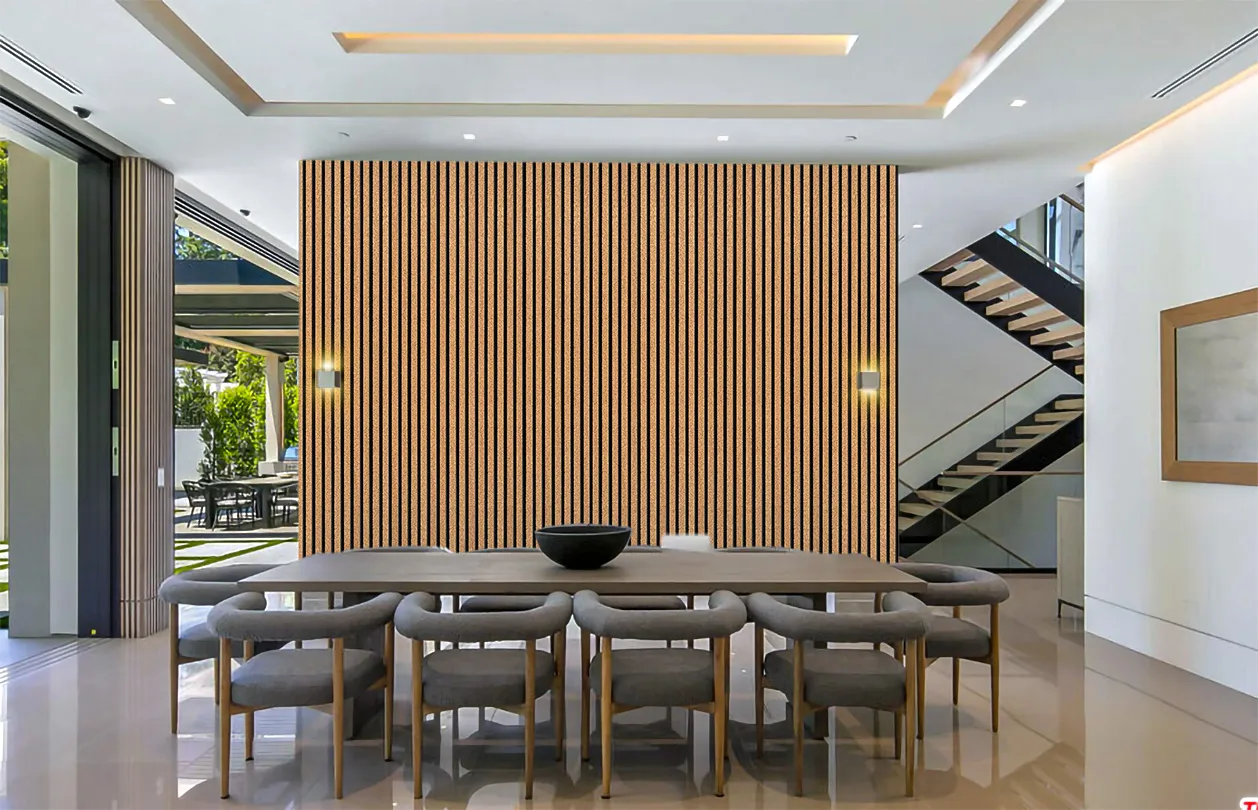
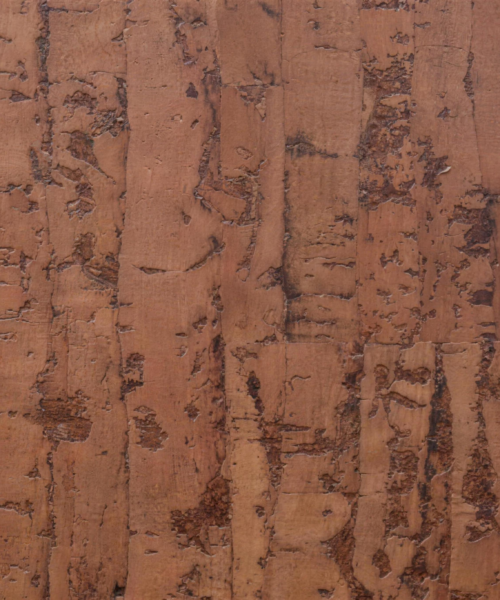
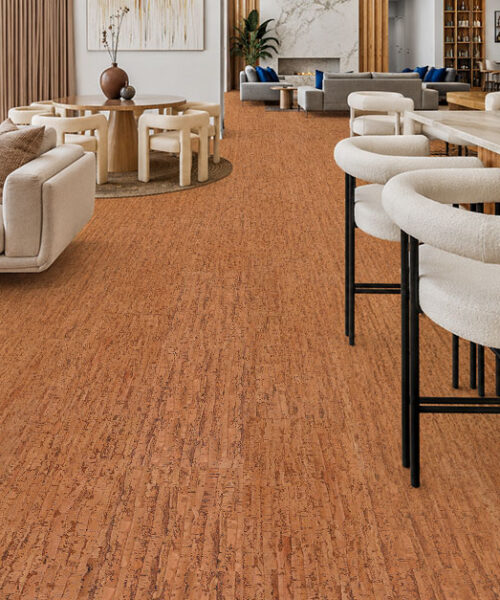
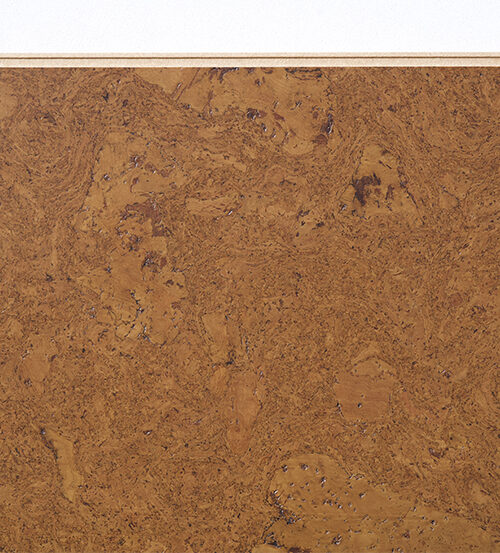
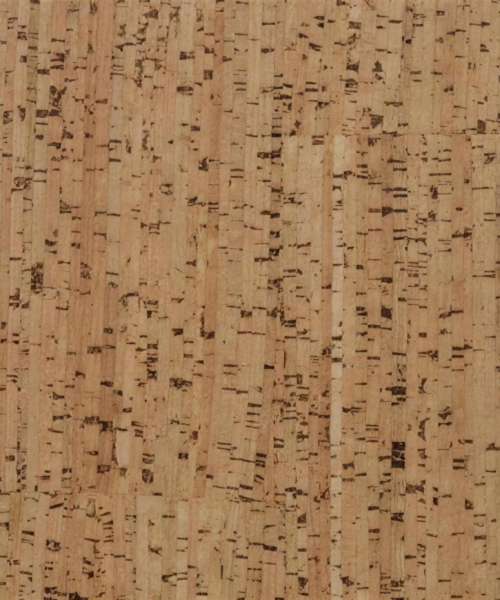
Swiss Design Cork

Swiss Design Cork
Swiss Design Cork
Cork Floating Planks
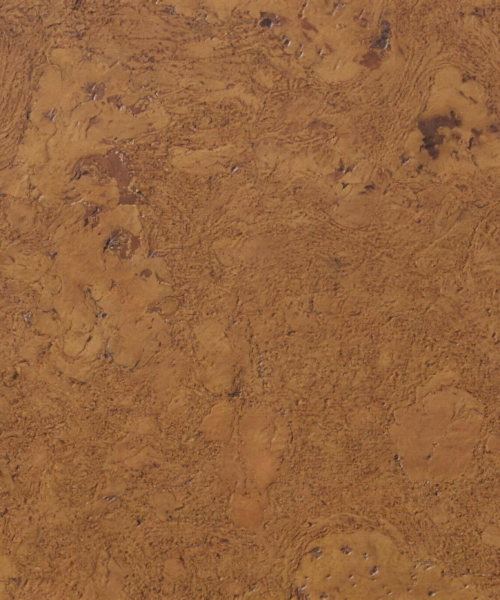
Cork Floating Planks
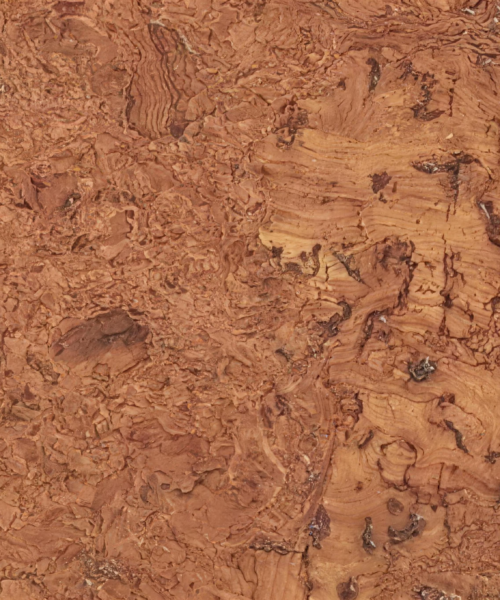
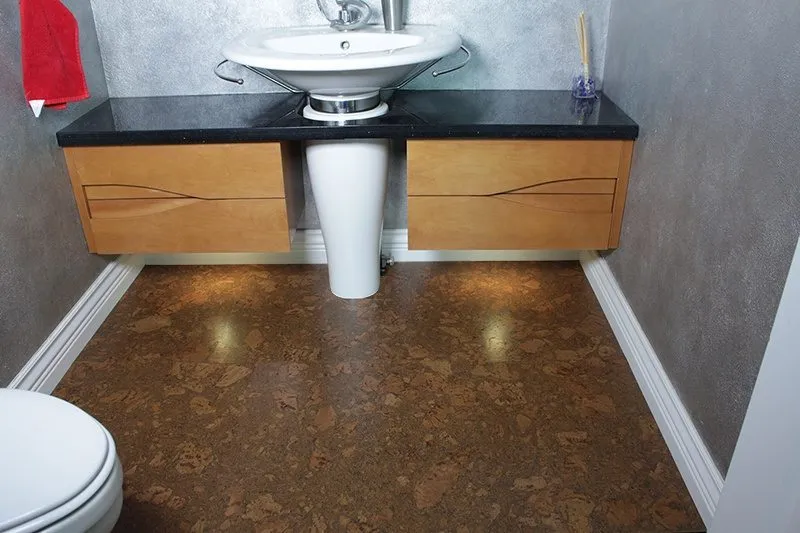
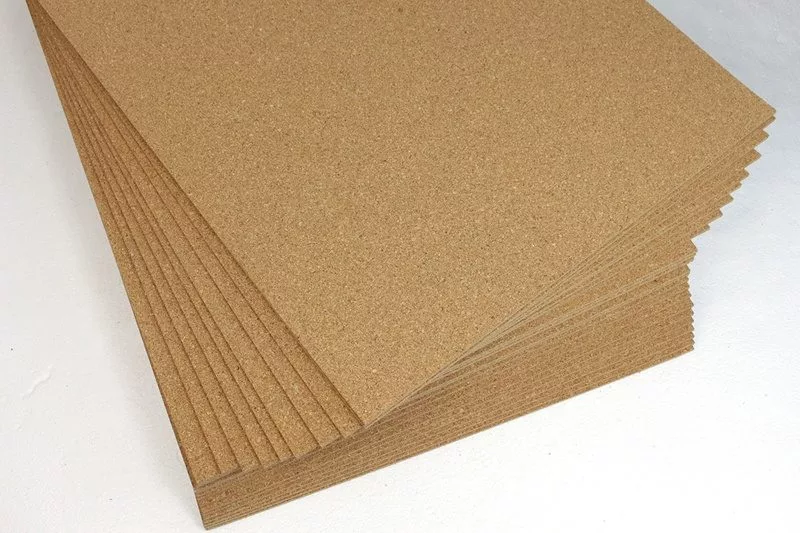
Cork Glue Down Tiles
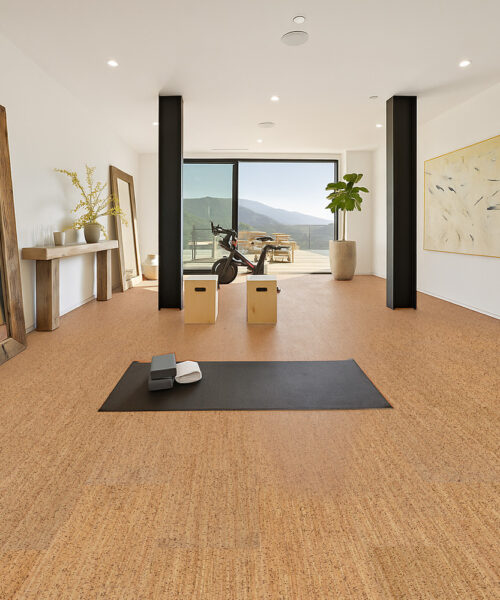
Cork Floating Planks

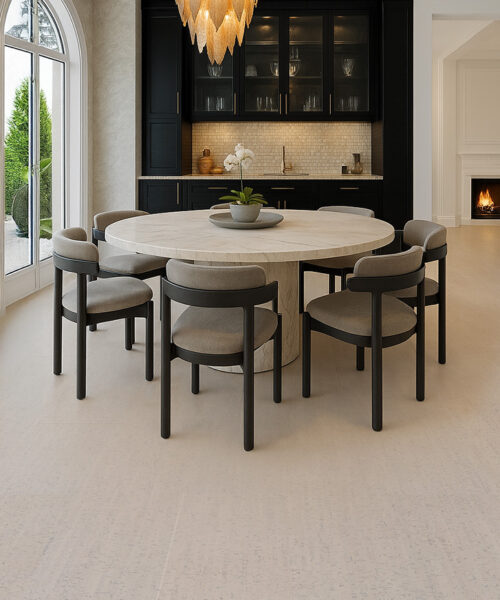
Cork Floating Planks
Cork flooring is a warm, quiet, resilient alternative to hardwood, vinyl, laminate, and tile. iCorkfloor helps US shoppers compare floating cork planks, glue-down cork tiles, samples, and installation supplies. Start here for bedrooms, basements, condos, kitchens, offices, home gyms, retail spaces, and other rooms where sound control and natural materials matter.
Sustainable cork flooring gives shoppers a warm, quiet, resilient floor made from renewable cork bark. iCorkfloor helps buyers compare floating cork planks, glue-down cork tiles, wall cork, samples, and installation supplies in one place.
Use this category as a sustainable flooring starting point for comfortable bedrooms, basements, condos, kitchens, offices, home gyms, retail spaces, and other rooms where sound control, natural materials, and alternatives to hardwood, vinyl, laminate, or tile matter.
Compare sustainable cork flooring
Compare renewable cork, floating planks, glue-down cork tiles, samples, comfort, sound control, and alternatives to hardwood, vinyl, laminate, and tile before choosing full boxes.
Sustainable flooring comparison paths
Turn sustainable flooring research into a sample-first cork decision
Sustainable flooring visitors need to compare real cork samples, vinyl and hardwood alternatives, room comfort, sound control, renewable material goals, and project help before buying full boxes.
Wholesale cork flooring and trade project support
Route bulk cork flooring, contractor, designer, retail, and commercial searches into samples, product fit, accessories, and quote support before full-box orders. USA buyers should start with samples, project quantities, delivery region, timing, and product-fit questions before checkout.
Frequently asked questions
Is cork a sustainable flooring option?
Yes. Cork flooring is made from renewable cork oak bark, can be softer and quieter underfoot than many hardwood floors, and is available in floating and glue-down formats for residential and light commercial rooms.
Can I order sustainable cork flooring samples?
iCorkfloor offers sustainable cork flooring samples so buyers can compare color, texture, thickness, and finish before ordering full boxes.
Which cork flooring type should I choose?
Floating cork planks are popular for fast click-lock installation. Glue-down cork tiles are often selected for bathrooms, kitchens, stairs, and areas where a fully bonded installation is preferred.
Portugal Cork Flooring
Naturally Responsible. Remarkably Quiet. Designed for Healthier Interiors.
Portugal cork flooring is produced in the heart of the world’s leading cork region, where generations of craftsmanship meet modern production techniques. Crafted from renewable cork bark and engineered for daily living, this flooring offers a unique combination of comfort, durability, and excellent indoor air quality—making it suitable for both residential and commercial spaces.
Flooring Options & Recommended Applications
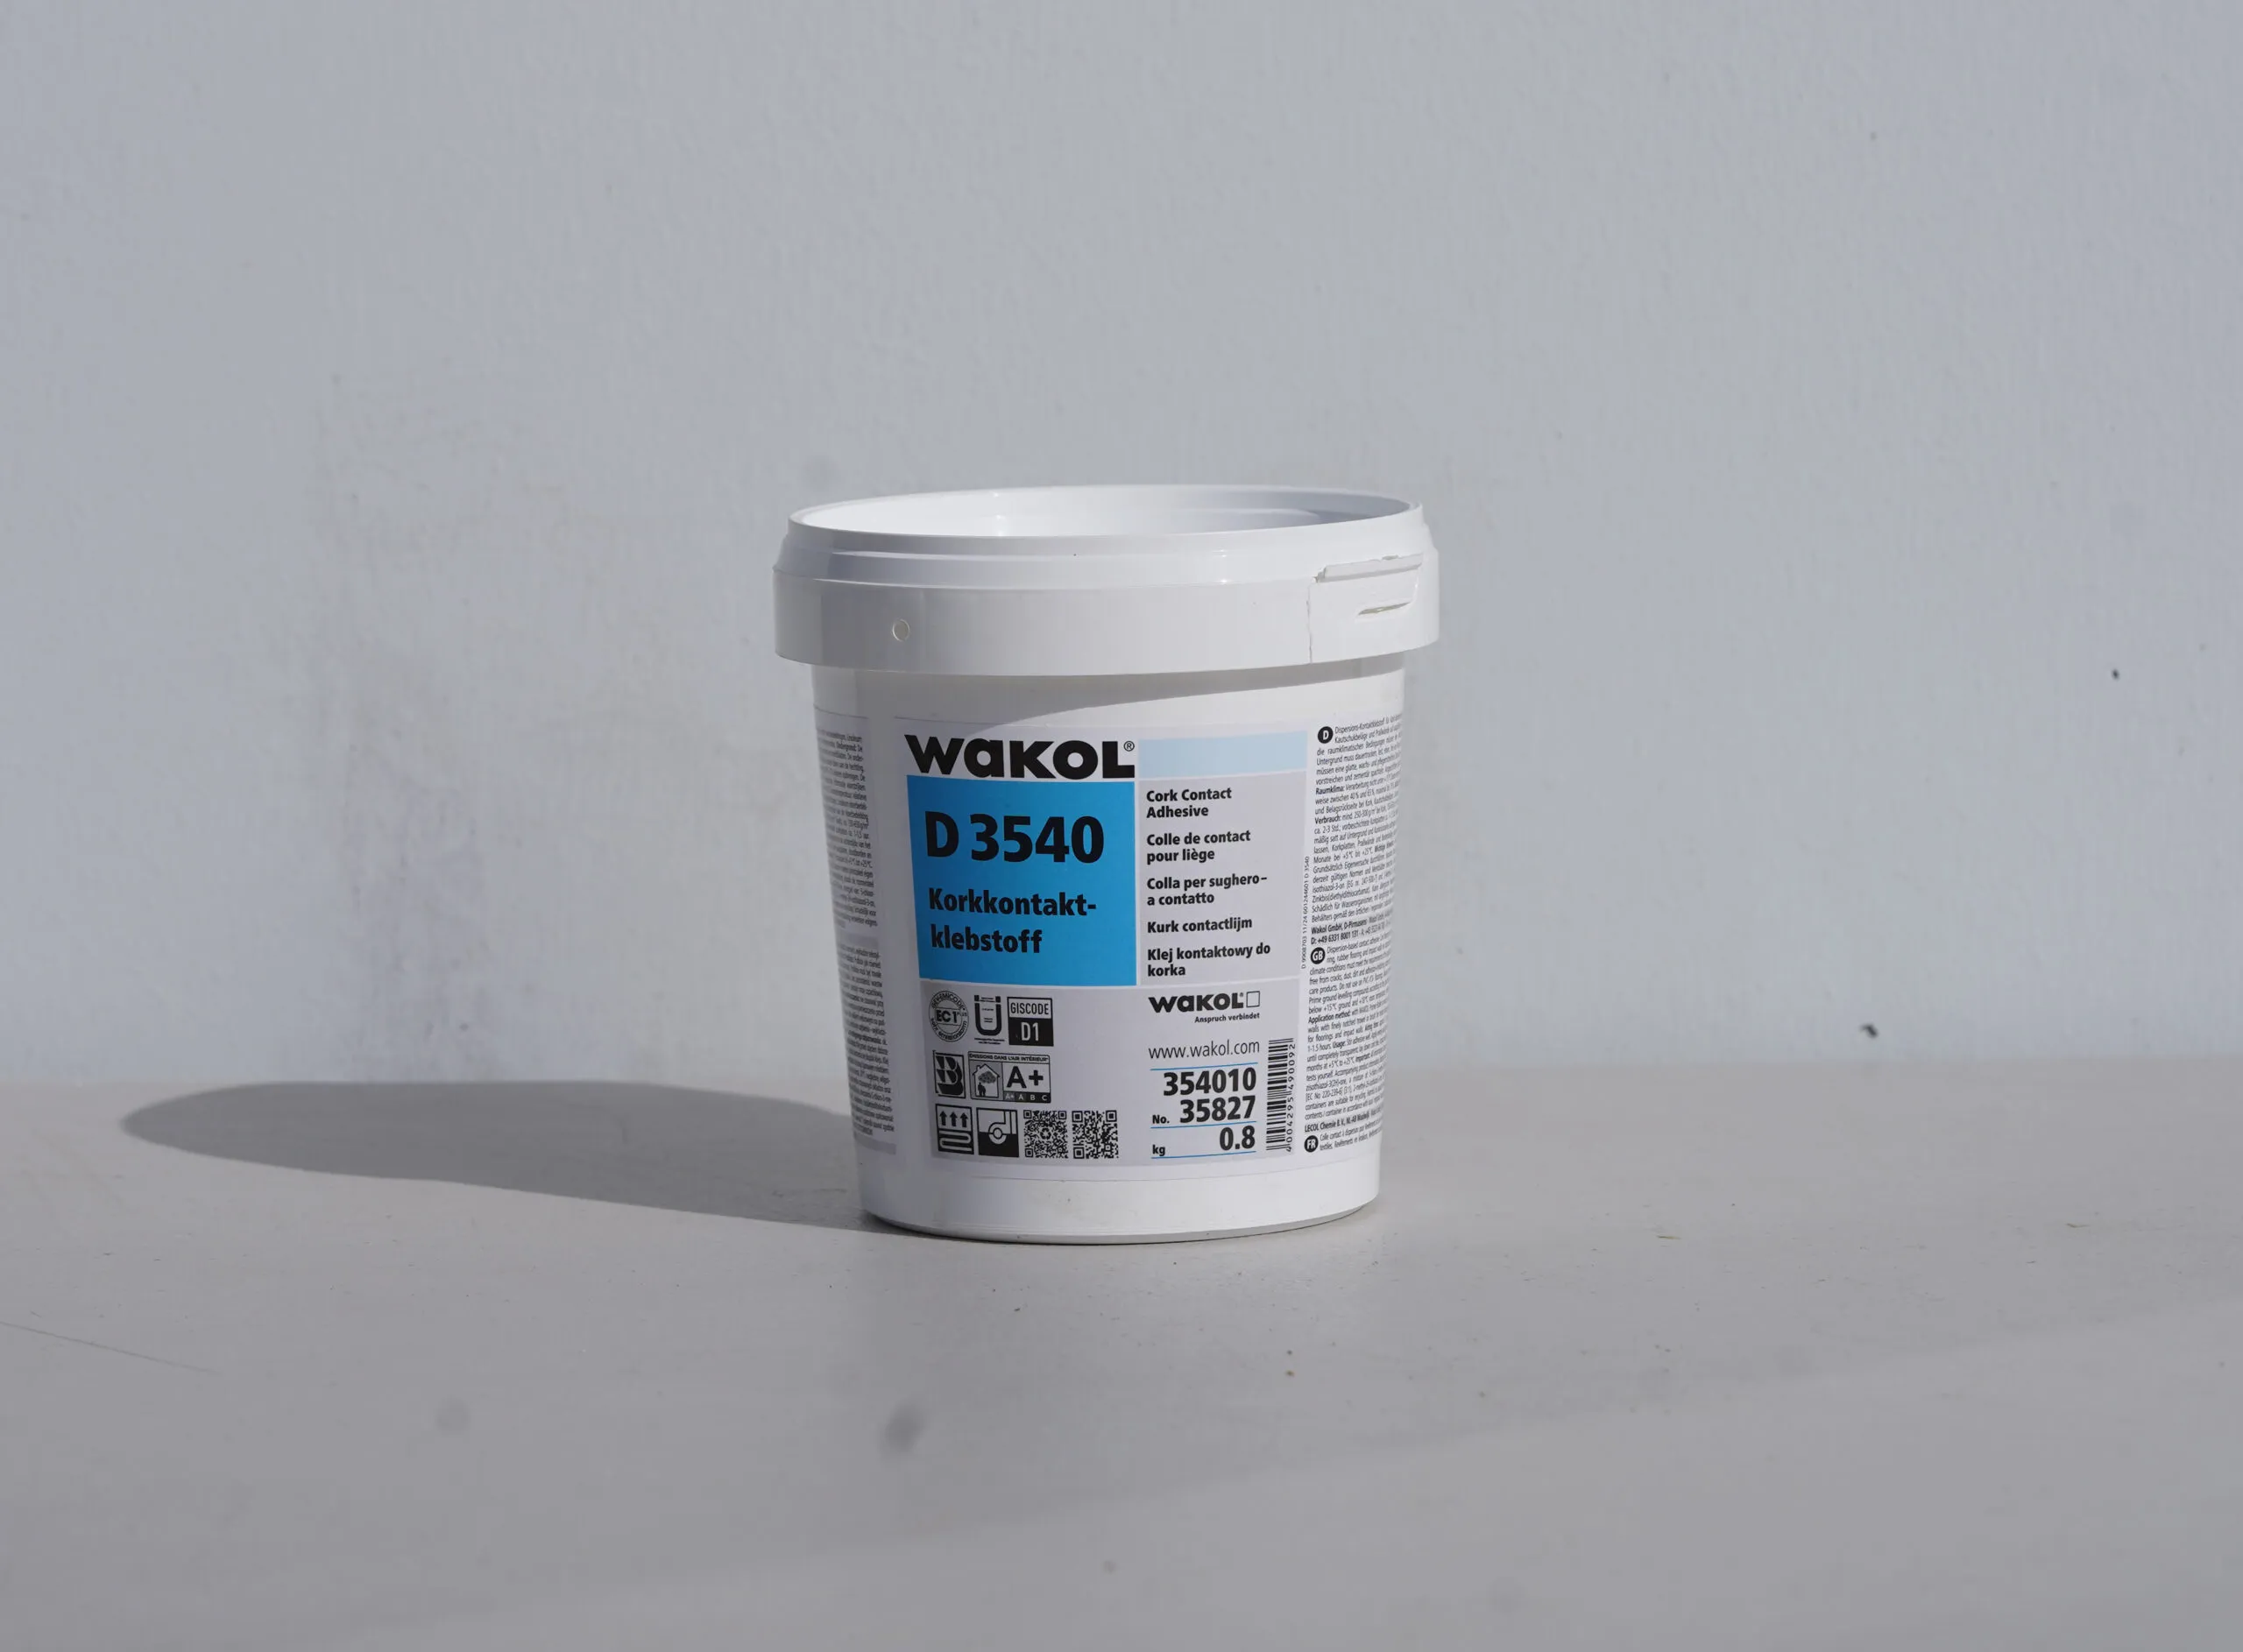
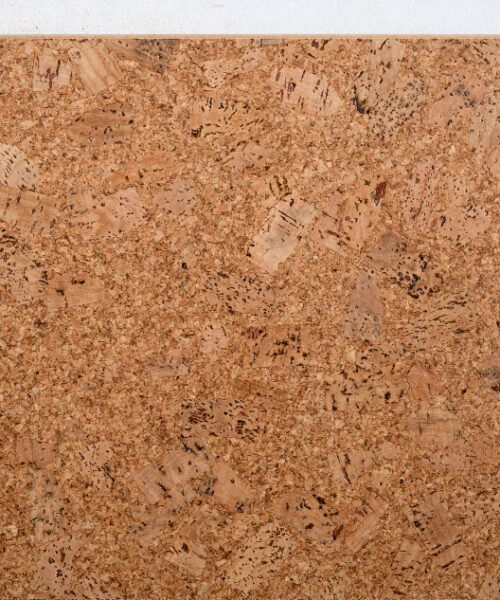
Cork Glue-Down Flooring
Cork glue-down flooring delivers a smooth, low-profile finish and is well suited for areas where improved moisture tolerance is important. When professionally installed and fully sealed, it can be used in bathrooms and other moisture-prone spaces, excluding shower areas and locations with standing water.
Because below-grade environments carry higher moisture and vapor risks, glue-down cork is not recommended for basement installations, where long-term performance may be affected.
Recommended spaces:
-
Bathrooms (excluding shower zones)
-
Powder rooms
-
Kitchens
-
Commercial areas requiring a permanent installation
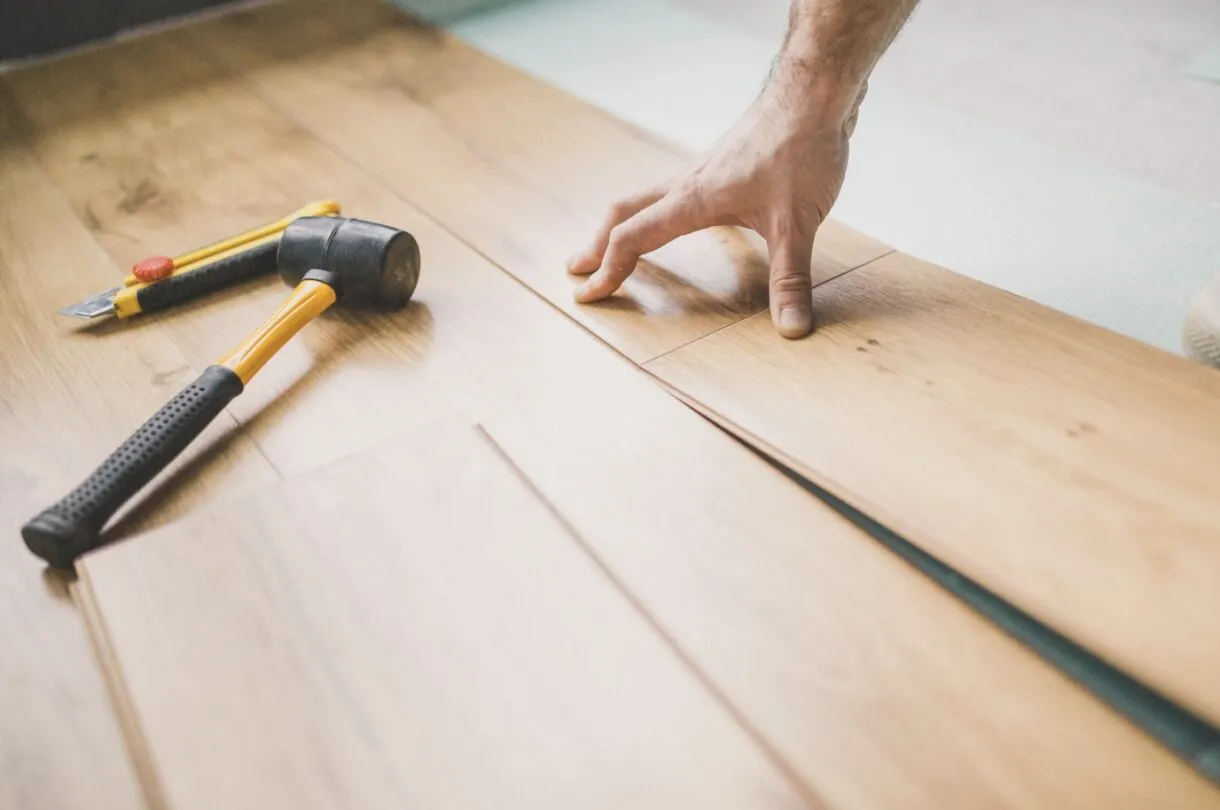
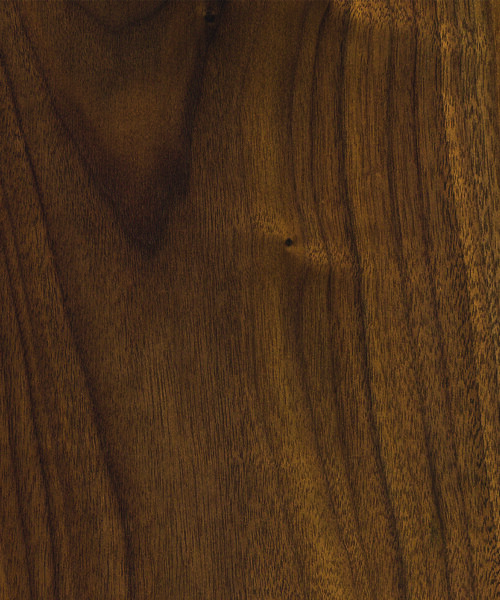
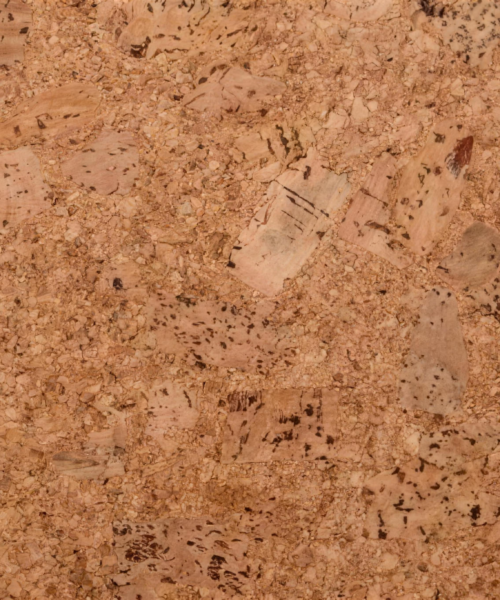
Cork Floating Flooring
Cork floating flooring uses a click-lock system with an integrated cork core, providing warmth, softness underfoot, and sound absorption. Its water-resistant construction makes it a strong option for kitchens and basements, as long as the space remains dry and climate-controlled.
Floating cork is not advised for full bathrooms with showers or tubs, where continuous moisture and humidity can impact the locking system and core.
Recommended spaces:
-
Kitchens
-
Basements (dry, below-grade areas)
-
Living rooms and bedrooms
-
Offices and open-plan interiors
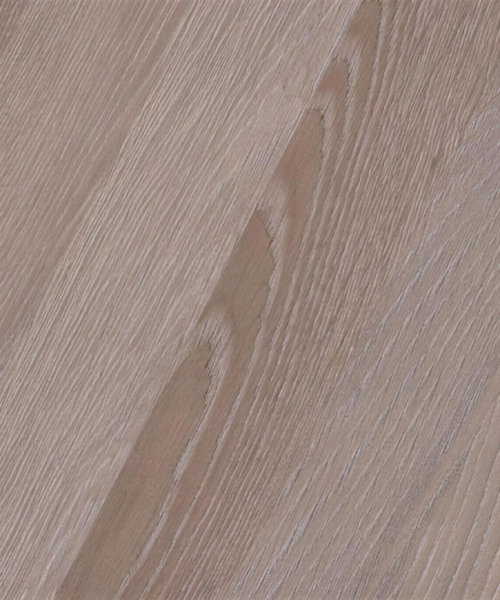
Design Cork Flooring
Design cork flooring pairs modern visuals with cork’s natural comfort and performance. Available in both glue-down and floating constructions, it follows the same installation guidelines while offering greater design flexibility for contemporary interiors.
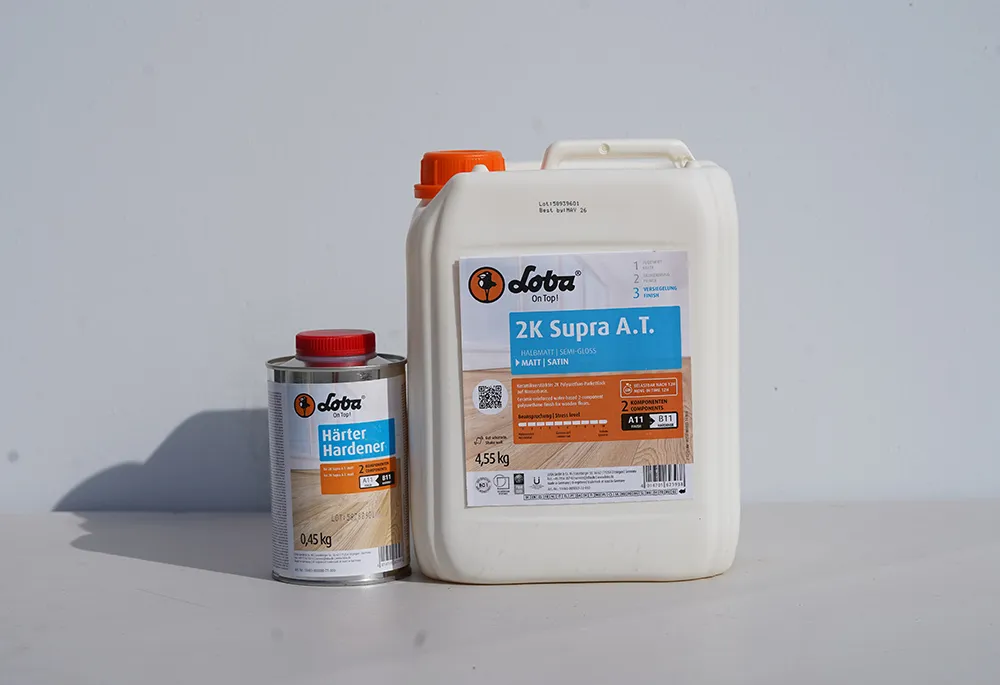
GREENGUARD Gold Certified for Indoor Air Quality
All Portugal cork flooring products are GREENGUARD Gold Certified, ensuring very low VOC emissions. This certification makes them suitable for homes, schools, healthcare facilities, and other environments where clean indoor air is a priority.
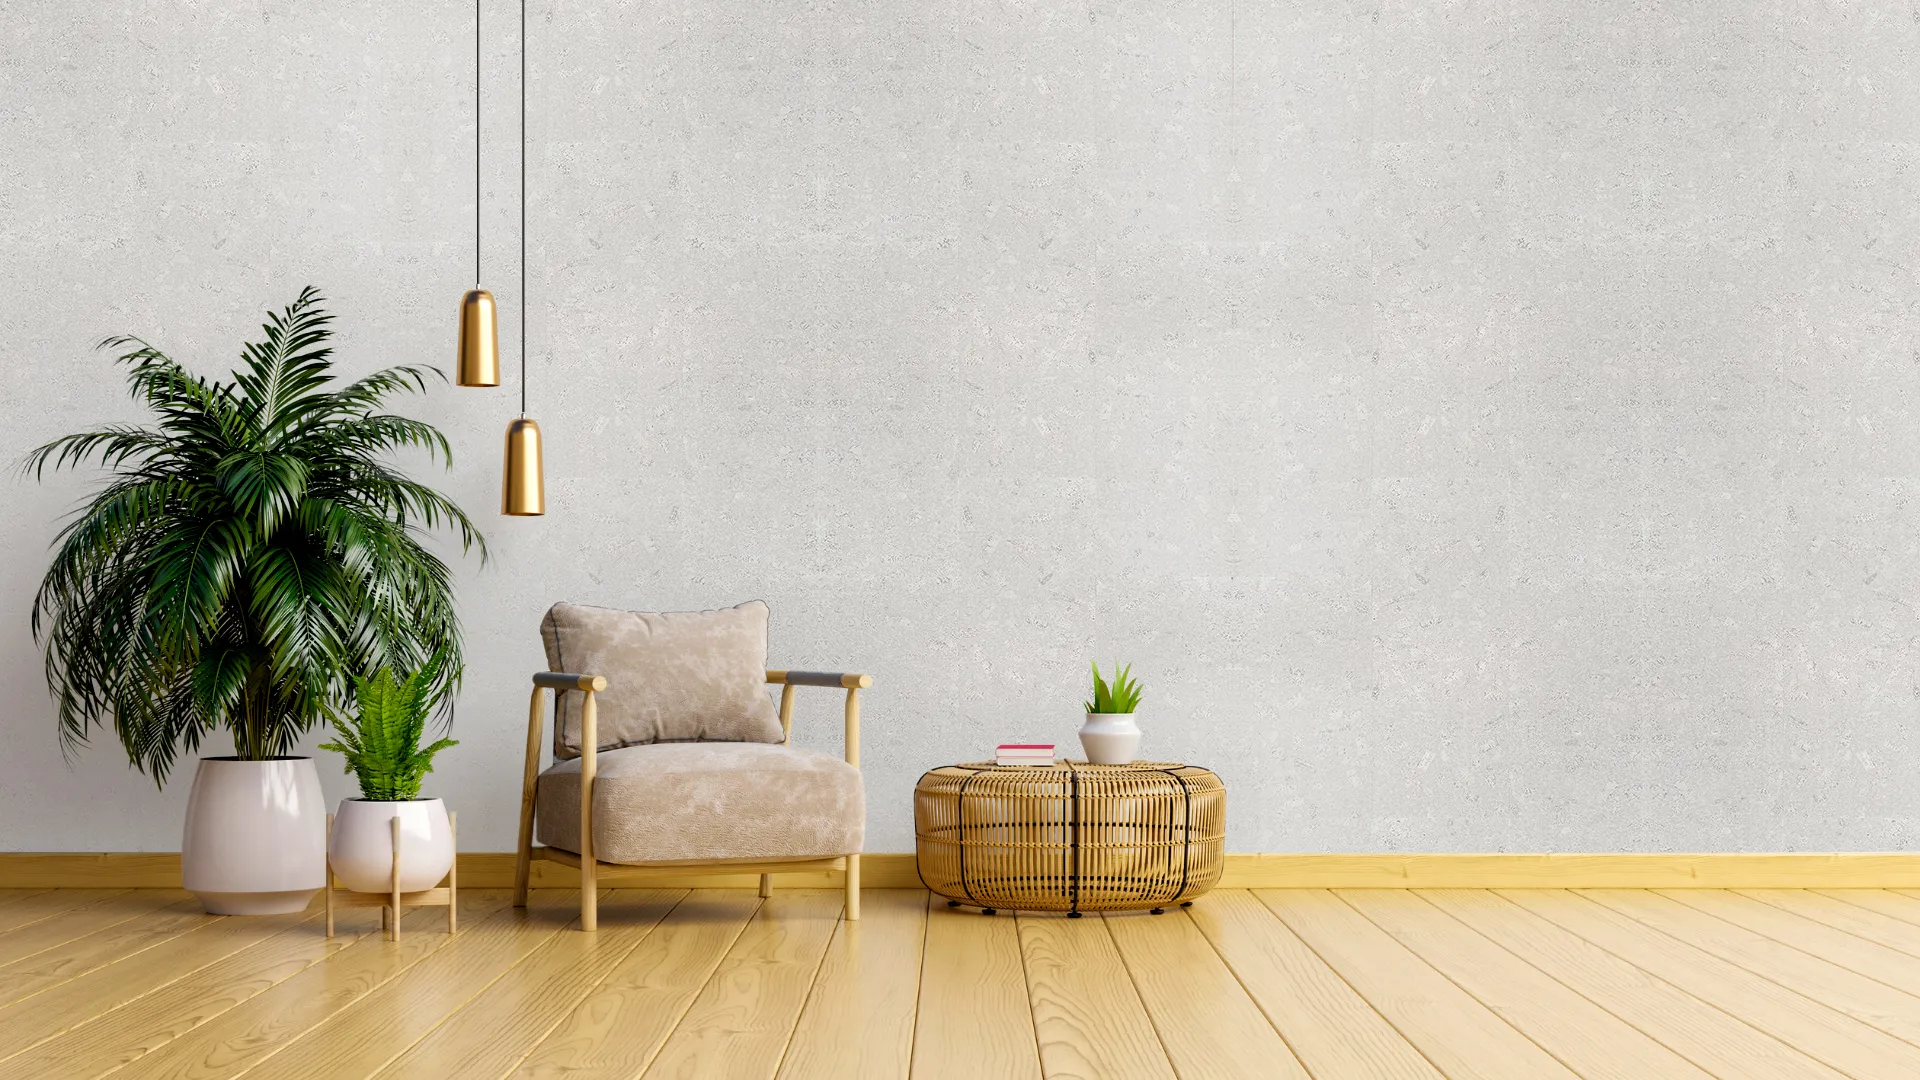
Naturally Quiet, Warm & Comfortable
Cork’s honeycomb structure naturally absorbs sound and minimizes impact noise, making it ideal for multi-level homes, offices, and shared spaces. Its insulating properties help maintain comfortable floor temperatures throughout the year.
Naturally Resistant & Safer by Design
Cork contains suberin, a natural compound that helps resist mold, mildew, and pests. It does not trap dust or emit harmful substances and is naturally fire-resistant, producing no toxic fumes when exposed to flame.
Trusted European Craftsmanship
By partnering directly with established Portuguese manufacturers, we offer high-quality cork flooring with reliable performance, responsible sourcing, and strong overall value—ideal for residential and light commercial projects alike.