


Gym and Physical Therapy Center Floor

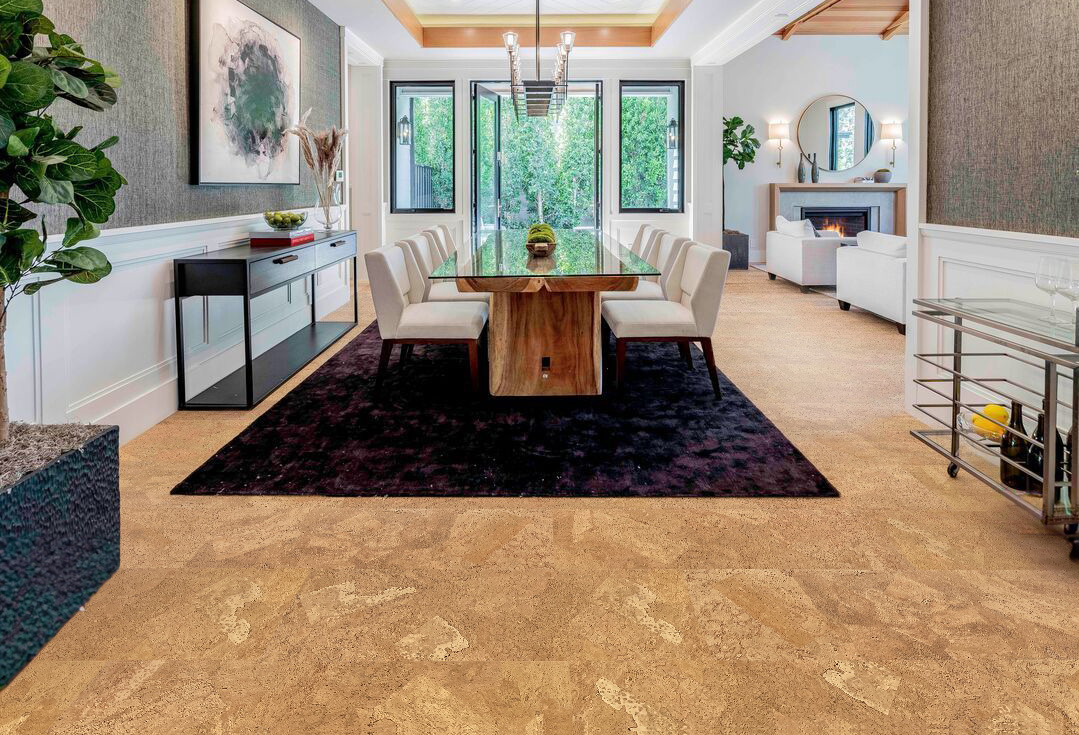
Cork has come a long way from being a wine stopper. The construction industry has made it a welcome product in residential and commercial buildings. In fact, the cork flooring that is available today comes in a wide range of colors and designs. But did you know that cork flooring has been a popular addition as gym flooring and physical therapy centers floor for many years now? Why you ask?

The answer is actually very simple. Because it is the best product for what it does.
Cork has a cellular structure much like a honeycomb with millions of pockets or chambers. Each of the cells is filled with air. When you walk on this type of a surface, the air becomes compressed and released. This process absorbs the shock and provides a cushioning effect, making it highly comfortable to walk on.

Cork is very durable and has been used in churches, libraries and several public buildings over the years. One of the longest known places is the Library of Congress. It is also easy to keep clean and to maintain. Protect the cork floor with a couple of layers of water-based polyurethane and you will simply keep a low-maintenance schedule of sweeping or vacuuming followed by mopping with a slightly damp mop. Every 3-7 years re-varnish with the polyurethane and you’ll keep your gym flooring looking like new.
The same air trapped cells that give cork floors that ‘cushion’ also helps reduce vibration and noise caused from walking or from falling objects. This quality makes it a preferred option for gym flooring and physical therapy centers floor.
Cork contains a natural substance called suberin. This substance is thick and waxy to touch. It repels insects such as termites. The suberin also acts as a protective shield against water so even if the cork remains wet for a long period of time, it will not mold or mildew as gym flooring .

Imagine exercising on a floor that won’t transfer the impact to your knees or joints, is hypo-allergenic and also doubles as a sound insulator. Turn up the music and exercise to your hearts content. Walk across a cork floor as you learn control over your body once more, safe in the knowledge that your therapy center cares so much that even their floors are made to accommodate your needs.

And then add to that the fact that cork is a sustainable resource. Only the bark is harvested to manufacture cork for gym flooring, walls and other purposes. The tree is left to regenerate and can be harvested again in nearly a decades time.
And now you know. Don’t you agree that cork is the best at what it does?